The Story
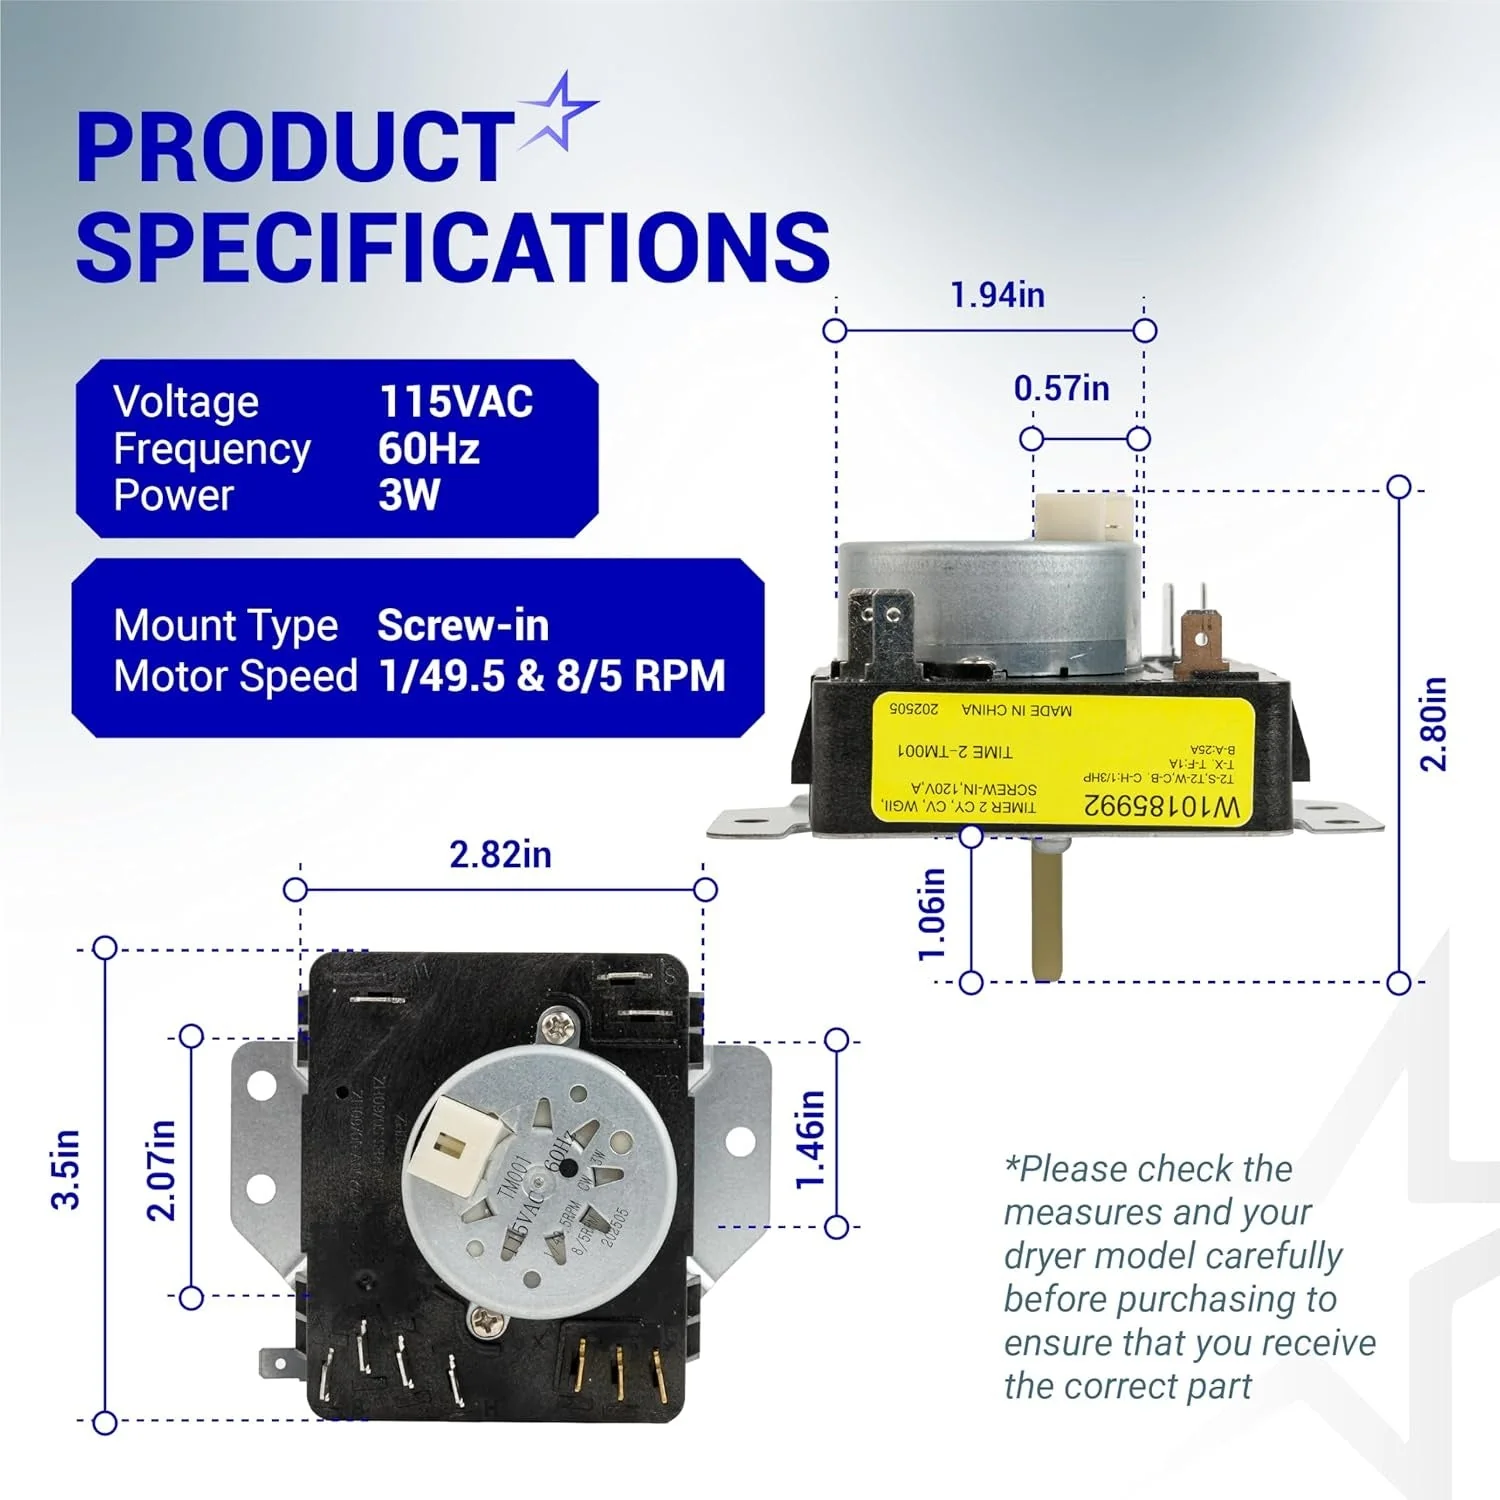
W10185992 Dryer Timer Control
Key Features
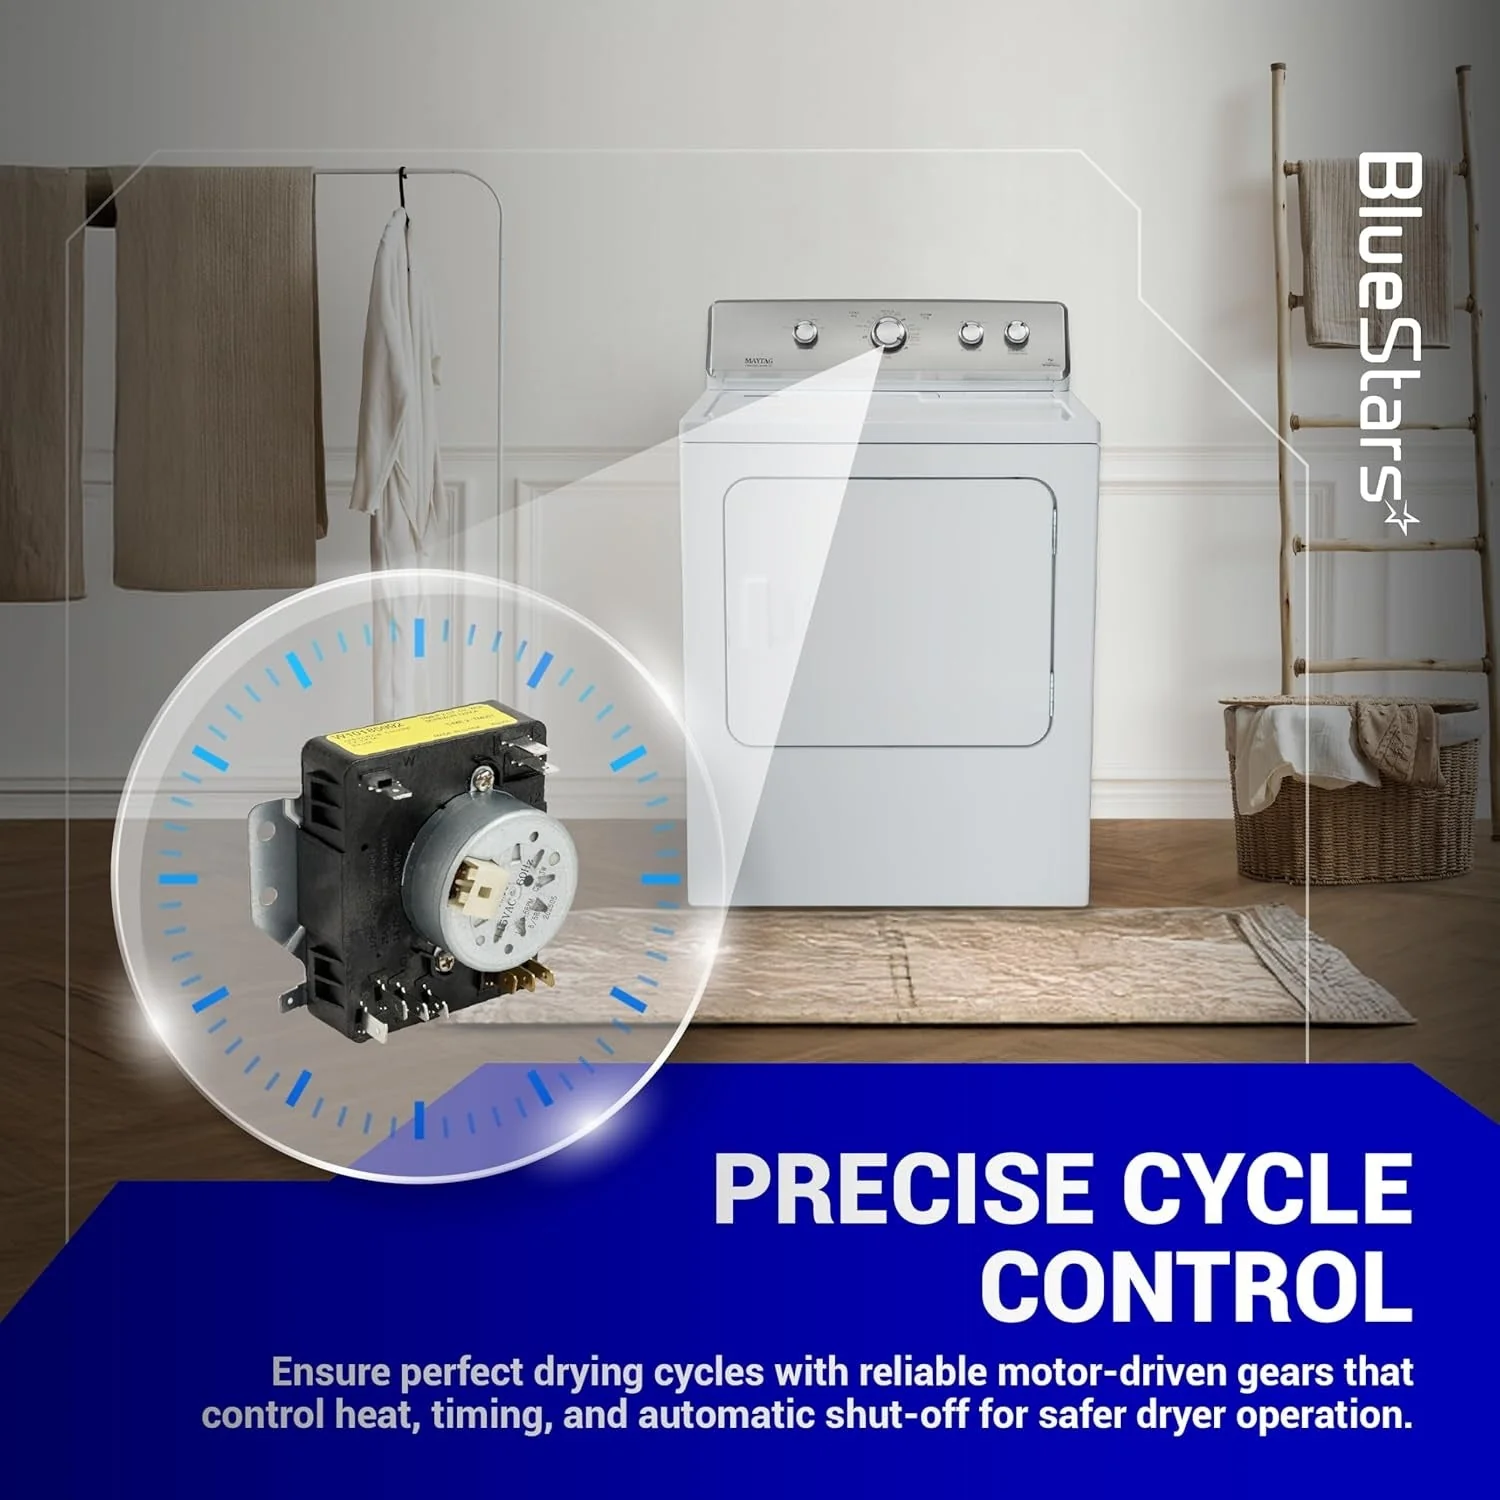
- Precise Cycle Management: Regulates the duration of drying cycles, including timed dry, automatic sensing, and fluff/no-heat settings.
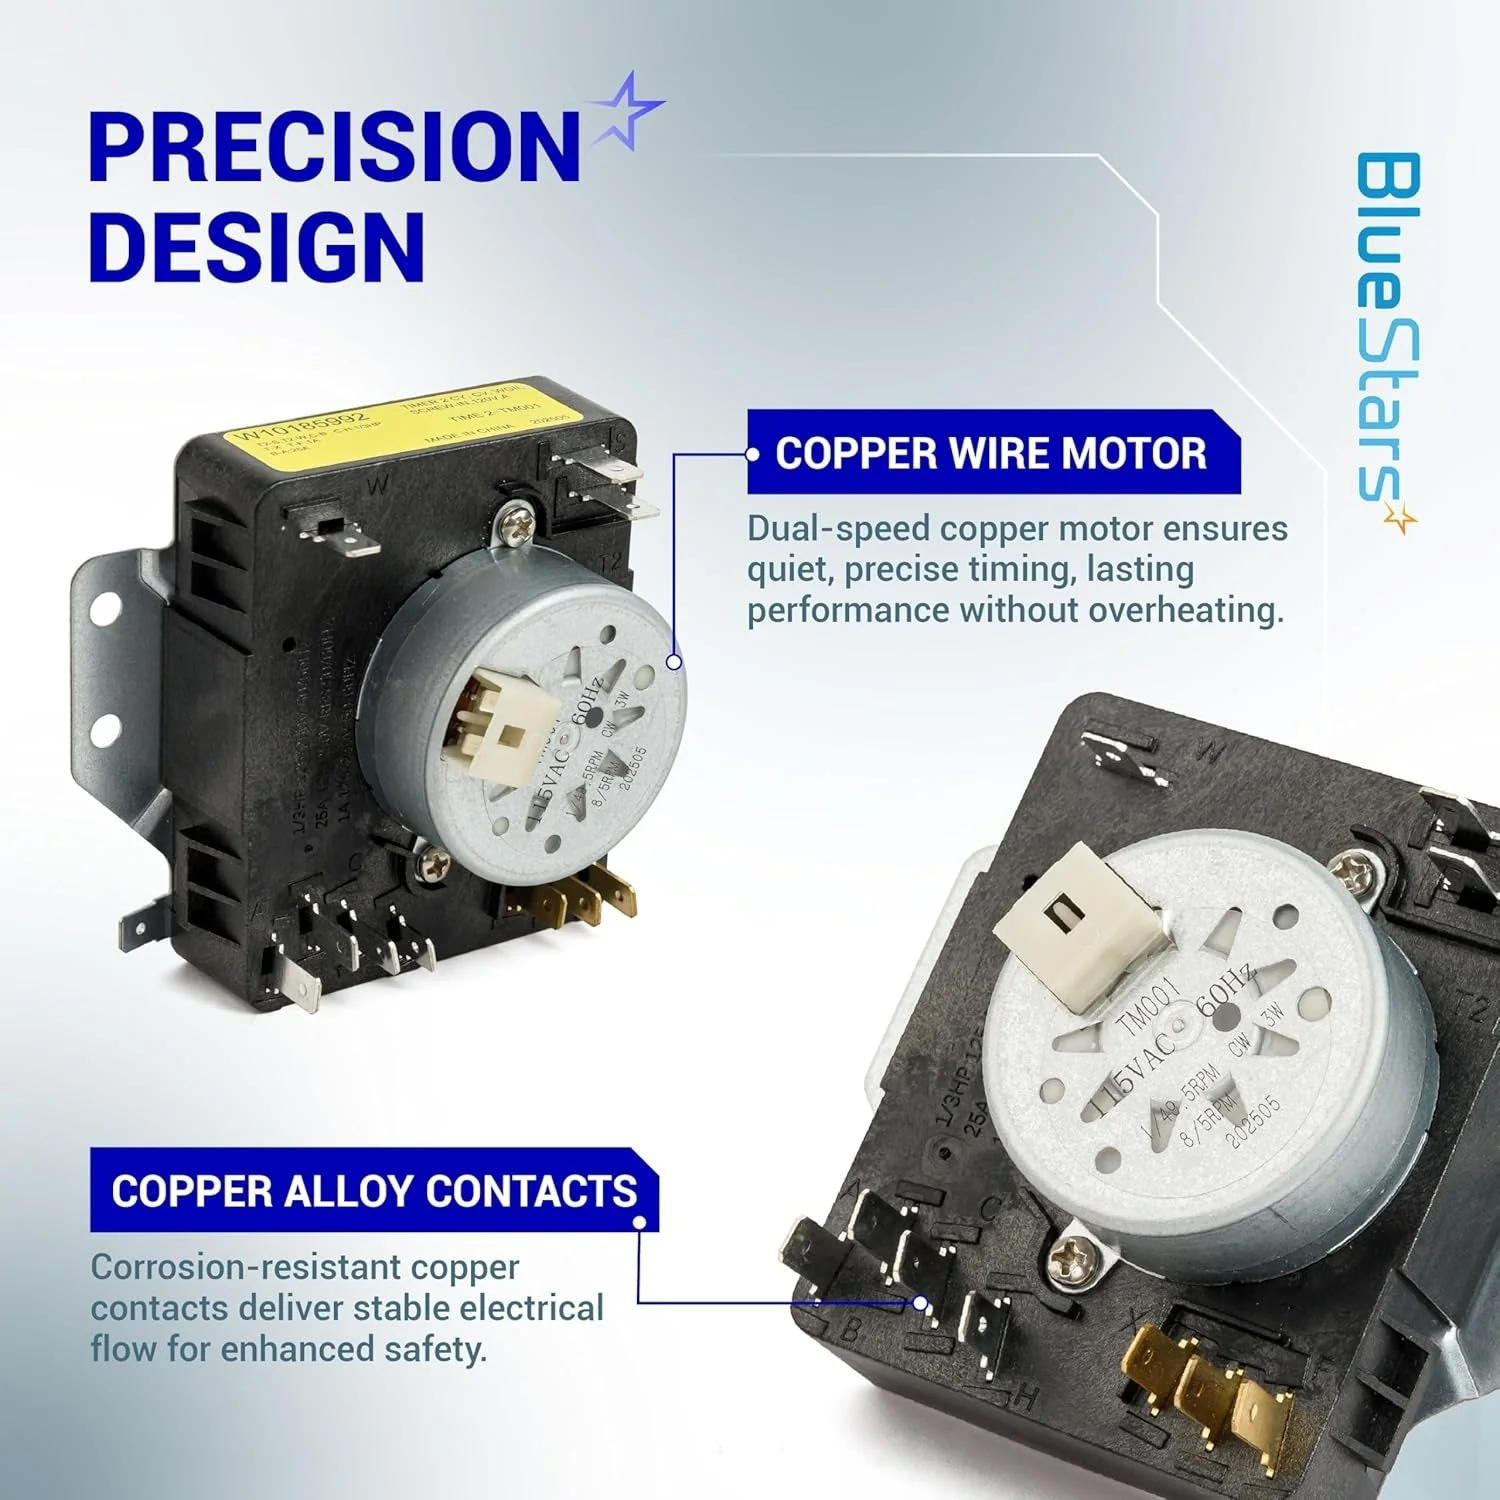
- Integrated Drive Motor: Features a high-torque internal motor that ensures the timer dial advances accurately throughout the selected program.
- Multi-Terminal Interface: Equipped with a standardized terminal configuration for seamless integration with the dryer's main wiring harness.
- Durable Internal Contacts: Built with heavy-duty electrical contact points designed to handle the switching loads for the heater, motor, and signal buzzer.
Replaces / Cross-Reference Part Numbers
- W10185992
- 1481708
- AP6016542
- PS11749833
- EAP11749833
- 418-095-20-B5
- WPW10185992
Compatibility & Fitment
This timer is designed for use in various 29-inch wide top-load matching dryers manufactured by the Whirlpool Corporation. Key compatible models include:
- Maytag: Fits Centennial and standard series (e.g., MEDC200XW0, MEDC200XW1, MGDC200XW0).
- Whirlpool: Compatible with select WED and WGD series models.
- Crosley: Fits models such as CED126SBW0, CED126SXW0, CGD126SBW0, CGD126SXW0.
- Kenmore / Sears: Compatible with select 110-series dryers (e.g., 110.61202011, 110.71202010).
- Roper & Admiral: Fits select models utilizing the W10185992 part specification.
When to Replace
- Timer Won't Advance: The dryer continues to run indefinitely in a timed cycle, or the dial gets stuck at a specific point.
- Dryer Won't Start: The timer does not send power to the drive motor when the start button is pressed, despite having continuity elsewhere.
- Cycles Not Ending: The dryer fails to shut off at the end of the cycle, potentially leading to overheating or fabric damage.
- Manual Dial Failure: The timer knob spins freely or feels "stripped," indicating the internal plastic gears have failed.
- Burning Smell: Visible charring or a distinct electrical odor coming from the control console, suggesting shorted internal contacts.
Installation Tips
- Safety First: Disconnect the dryer from the 240V power source before removing the control console.
- Wire Mapping: Take a clear photograph of the existing wire connections on the old timer before removing them to ensure identical placement on the new unit.
- Knob Removal: Most timer knobs must be pulled straight off or have a small locking clip behind the dial that needs to be released.
- Terminal Transfer: Move the wires one at a time from the old timer to the new one to prevent wiring errors. Ensure each spade connector is tight and fully seated.
- Testing: Once installed, run a short "Timed Dry" cycle to verify the dial advances and the machine shuts off as expected.
Details & Craftsmanship
Every detail has been carefully considered to bring you the perfect product.
Details & Craftsmanship
Every detail has been carefully considered to bring you the perfect product.
Details & Craftsmanship
Every detail has been carefully considered to bring you the perfect product.
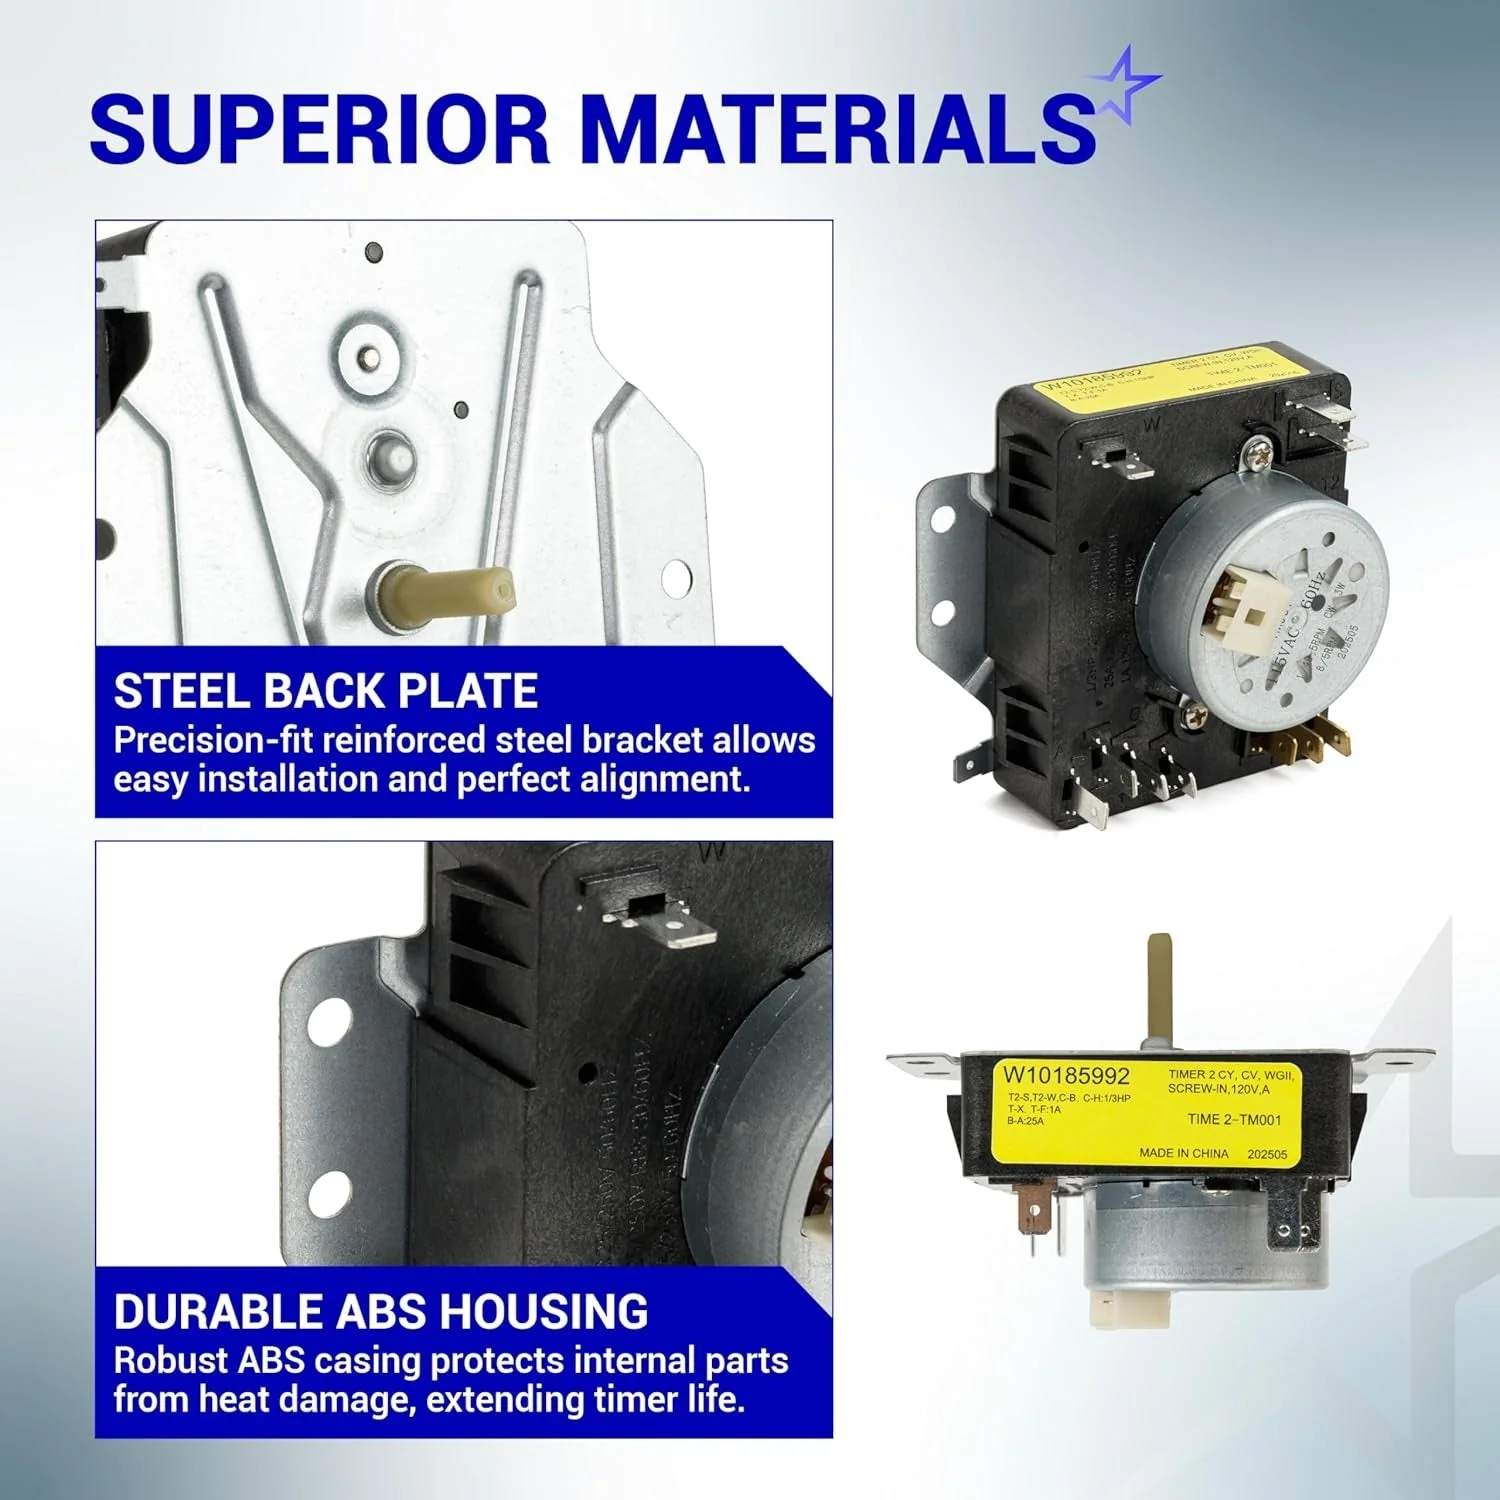
Details & Craftsmanship
Every detail has been carefully considered to bring you the perfect product.

Details & Craftsmanship
Every detail has been carefully considered to bring you the perfect product.

Details & Craftsmanship
Every detail has been carefully considered to bring you the perfect product.

Details & Craftsmanship
Every detail has been carefully considered to bring you the perfect product.

Details & Craftsmanship
Every detail has been carefully considered to bring you the perfect product.
Description
W10185992 Dryer Timer Control
Key Features
- Precise Cycle Management: Regulates the duration of drying cycles, including timed dry, automatic sensing, and fluff/no-heat settings.
- Integrated Drive Motor: Features a high-torque internal motor that ensures the timer dial advances accurately throughout the selected program.
- Multi-Terminal Interface: Equipped with a standardized terminal configuration for seamless integration with the dryer's main wiring harness.
- Durable Internal Contacts: Built with heavy-duty electrical contact points designed to handle the switching loads for the heater, motor, and signal buzzer.
Replaces / Cross-Reference Part Numbers
- W10185992
- 1481708
- AP6016542
- PS11749833
- EAP11749833
- 418-095-20-B5
- WPW10185992
Compatibility & Fitment
This timer is designed for use in various 29-inch wide top-load matching dryers manufactured by the Whirlpool Corporation. Key compatible models include:
- Maytag: Fits Centennial and standard series (e.g., MEDC200XW0, MEDC200XW1, MGDC200XW0).
- Whirlpool: Compatible with select WED and WGD series models.
- Crosley: Fits models such as CED126SBW0, CED126SXW0, CGD126SBW0, CGD126SXW0.
- Kenmore / Sears: Compatible with select 110-series dryers (e.g., 110.61202011, 110.71202010).
- Roper & Admiral: Fits select models utilizing the W10185992 part specification.
When to Replace
- Timer Won't Advance: The dryer continues to run indefinitely in a timed cycle, or the dial gets stuck at a specific point.
- Dryer Won't Start: The timer does not send power to the drive motor when the start button is pressed, despite having continuity elsewhere.
- Cycles Not Ending: The dryer fails to shut off at the end of the cycle, potentially leading to overheating or fabric damage.
- Manual Dial Failure: The timer knob spins freely or feels "stripped," indicating the internal plastic gears have failed.
- Burning Smell: Visible charring or a distinct electrical odor coming from the control console, suggesting shorted internal contacts.
Installation Tips
- Safety First: Disconnect the dryer from the 240V power source before removing the control console.
- Wire Mapping: Take a clear photograph of the existing wire connections on the old timer before removing them to ensure identical placement on the new unit.
- Knob Removal: Most timer knobs must be pulled straight off or have a small locking clip behind the dial that needs to be released.
- Terminal Transfer: Move the wires one at a time from the old timer to the new one to prevent wiring errors. Ensure each spade connector is tight and fully seated.
- Testing: Once installed, run a short "Timed Dry" cycle to verify the dial advances and the machine shuts off as expected.