The Story
WP3406107 / 3406107 Dryer Door Switch
Key Features
- Critical Safety Interlock: Engineered as the primary safety mechanism that immediately cuts power to the dryer motor when the door is opened, preventing accidental injury during operation.
- 3-Terminal Electrical Configuration: Features a specialized three-wire design that manages both the motor start circuit and the internal drum light circuit (for models equipped with lighting).
- High-Impact Heat-Stabilized Housing: Manufactured from a premium, non-conductive polymer designed to maintain structural integrity and electrical insulation in the high-vibration and high-temperature environment of the dryer front bulkhead.
- Reinforced Lever-Actuator: Equipped with a high-durability internal spring and plunger mechanism designed for thousands of open-and-close cycles without mechanical fatigue.
Replaces / Cross-Reference Part Numbers
- AP6008561
- PS11741701
- 3406107
- 3406109
- WPW10569603
- W10569603
- WP3406107VP
- 3405100
- 3406100
- 3406101
Compatibility & Fitment
This door switch is the standard safety component for virtually all top-lint-filter dryers produced by Whirlpool. Key compatible brands include:
- Whirlpool & Maytag: Fits hundreds of models including MEDC400VW0, AED4475TQ1, and the Centennial, Bravos, and Duet series.
- Kenmore (110 Series): Compatible with the vast majority of 110-prefix models produced by Whirlpool for Sears (e.g., 110.60022010).
- Amana, Roper, & Estate: Direct fit for NED, NGD, and RED series budget-friendly dryers.
- KitchenAid & Crosley: Fits various KEDS and CDE series units utilizing the 3-terminal door switch style.
- Note: This switch is typically located on the Front Bulkhead or Top Panel near the door opening. Ensure your original switch has three terminals before ordering.
When to Replace
- Dryer Won't Start: The most common symptom—you press the start button and hear nothing. If the switch fails in the "open" position, the motor circuit cannot be completed.
- Dryer Runs with Door Open: **EXTREMELY UNSAFE:** The switch has failed in the "closed" position, allowing the drum to spin even when the door is opened. Replace immediately.
- Drum Light Won't Turn On/Off: If the motor runs but the light stays on constantly (or never turns on), the internal contact for the light circuit has failed.
- Broken Plunger: The white plastic lever that is pushed by the door has snapped off, making it impossible for the door to actuate the switch.
- Continuity Test Failure: Use a multimeter to test terminals. One pair should show continuity only when the plunger is pressed; the other should show continuity only when the plunger is released.
Installation Tips
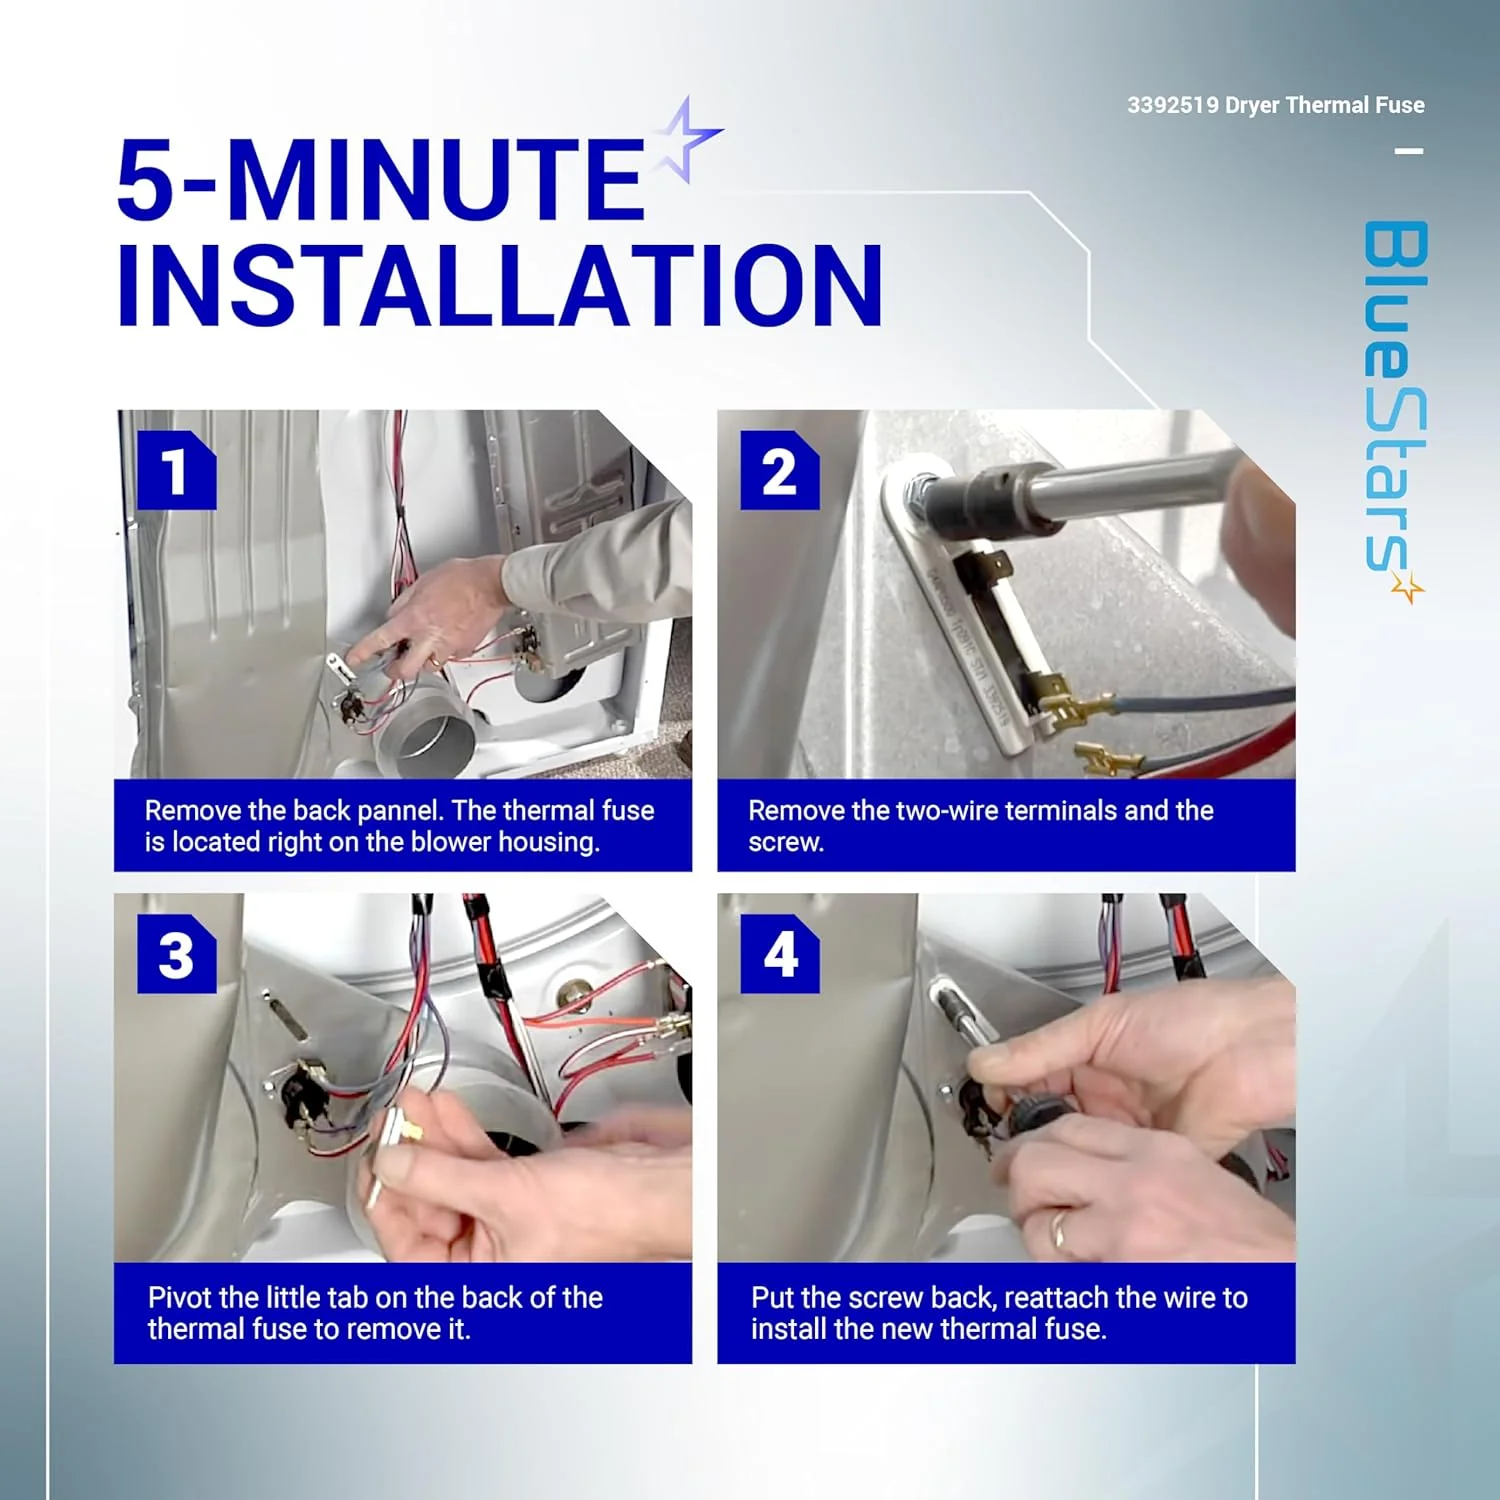
- Safety First: You MUST unplug the dryer. This repair requires accessing the internal wiring behind the front panel or top console.
- The "Photo" Rule: Since there are three wires (typically white, blue, and black/gray), take a clear photo of the original wiring before disconnecting to ensure you don't cross the motor and light circuits.
- Accessing the Switch: On most models, you must remove the lint filter and pop the top panel with a putty knife. The switch is held in by two screws or snap-tabs on the front bulkhead.
- Check the Door Strike: Inspect the plastic **Door Strike** on the door itself. If the strike is broken or bent, it won't be able to push the switch plunger far enough to engage the contacts.
- Terminal Transfer: Use needle-nose pliers to move the wires one at a time. If the wire connectors are loose, gently squeeze the female spade connectors for a tighter, safer connection.

Details & Craftsmanship
Every detail has been carefully considered to bring you the perfect product.

Details & Craftsmanship
Every detail has been carefully considered to bring you the perfect product.

Details & Craftsmanship
Every detail has been carefully considered to bring you the perfect product.

Details & Craftsmanship
Every detail has been carefully considered to bring you the perfect product.

Details & Craftsmanship
Every detail has been carefully considered to bring you the perfect product.

Details & Craftsmanship
Every detail has been carefully considered to bring you the perfect product.

Details & Craftsmanship
Every detail has been carefully considered to bring you the perfect product.
Description
WP3406107 / 3406107 Dryer Door Switch
Key Features
- Critical Safety Interlock: Engineered as the primary safety mechanism that immediately cuts power to the dryer motor when the door is opened, preventing accidental injury during operation.
- 3-Terminal Electrical Configuration: Features a specialized three-wire design that manages both the motor start circuit and the internal drum light circuit (for models equipped with lighting).
- High-Impact Heat-Stabilized Housing: Manufactured from a premium, non-conductive polymer designed to maintain structural integrity and electrical insulation in the high-vibration and high-temperature environment of the dryer front bulkhead.
- Reinforced Lever-Actuator: Equipped with a high-durability internal spring and plunger mechanism designed for thousands of open-and-close cycles without mechanical fatigue.
Replaces / Cross-Reference Part Numbers
- AP6008561
- PS11741701
- 3406107
- 3406109
- WPW10569603
- W10569603
- WP3406107VP
- 3405100
- 3406100
- 3406101
Compatibility & Fitment
This door switch is the standard safety component for virtually all top-lint-filter dryers produced by Whirlpool. Key compatible brands include:
- Whirlpool & Maytag: Fits hundreds of models including MEDC400VW0, AED4475TQ1, and the Centennial, Bravos, and Duet series.
- Kenmore (110 Series): Compatible with the vast majority of 110-prefix models produced by Whirlpool for Sears (e.g., 110.60022010).
- Amana, Roper, & Estate: Direct fit for NED, NGD, and RED series budget-friendly dryers.
- KitchenAid & Crosley: Fits various KEDS and CDE series units utilizing the 3-terminal door switch style.
- Note: This switch is typically located on the Front Bulkhead or Top Panel near the door opening. Ensure your original switch has three terminals before ordering.
When to Replace
- Dryer Won't Start: The most common symptom—you press the start button and hear nothing. If the switch fails in the "open" position, the motor circuit cannot be completed.
- Dryer Runs with Door Open: **EXTREMELY UNSAFE:** The switch has failed in the "closed" position, allowing the drum to spin even when the door is opened. Replace immediately.
- Drum Light Won't Turn On/Off: If the motor runs but the light stays on constantly (or never turns on), the internal contact for the light circuit has failed.
- Broken Plunger: The white plastic lever that is pushed by the door has snapped off, making it impossible for the door to actuate the switch.
- Continuity Test Failure: Use a multimeter to test terminals. One pair should show continuity only when the plunger is pressed; the other should show continuity only when the plunger is released.
Installation Tips
- Safety First: You MUST unplug the dryer. This repair requires accessing the internal wiring behind the front panel or top console.
- The "Photo" Rule: Since there are three wires (typically white, blue, and black/gray), take a clear photo of the original wiring before disconnecting to ensure you don't cross the motor and light circuits.
- Accessing the Switch: On most models, you must remove the lint filter and pop the top panel with a putty knife. The switch is held in by two screws or snap-tabs on the front bulkhead.
- Check the Door Strike: Inspect the plastic **Door Strike** on the door itself. If the strike is broken or bent, it won't be able to push the switch plunger far enough to engage the contacts.
- Terminal Transfer: Use needle-nose pliers to move the wires one at a time. If the wire connectors are loose, gently squeeze the female spade connectors for a tighter, safer connection.