🚚 Free Worldwide Shipping on All Orders!Shop Now

$22.05
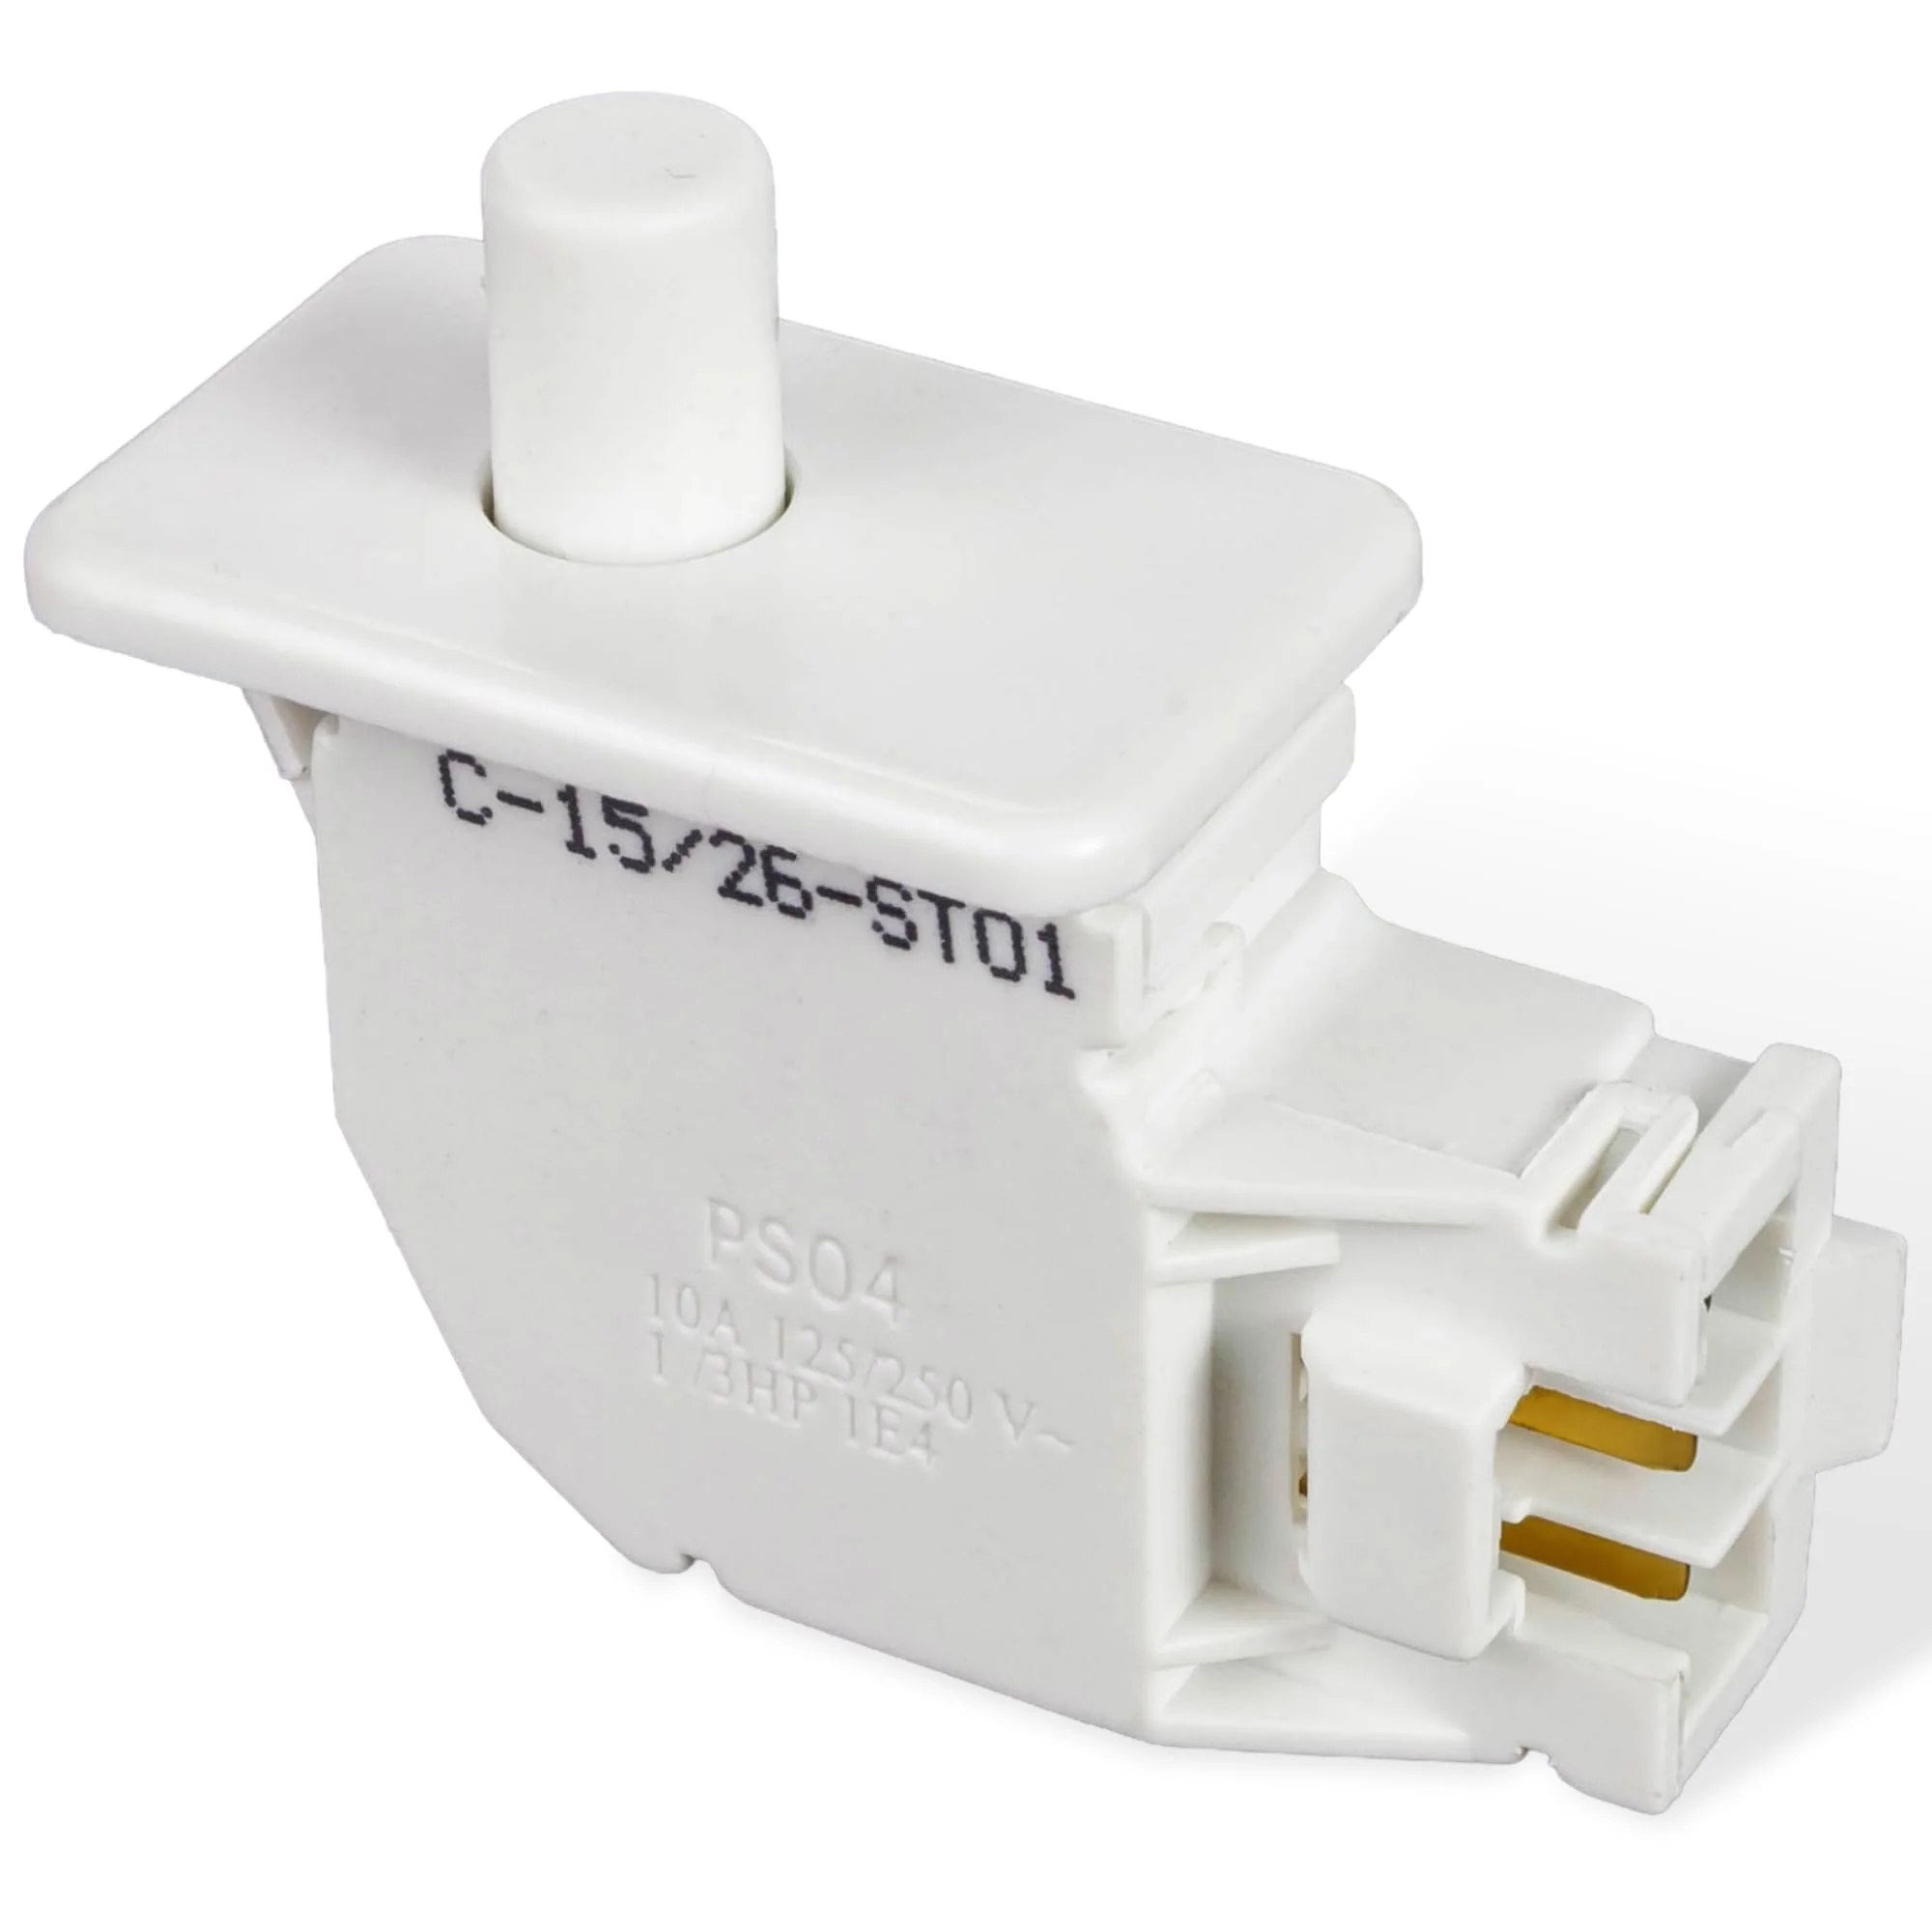
WE04X28977 Dryer Door Switch - For GE Hotpoint Dryer—
$22.05
The Story
WE04X28977 Dryer Door Switch
Key Features
- Ensures dryer motor operation only occurs when the door is latched securely.
- Maintains electrical safety circuit functionality for drying cycles.
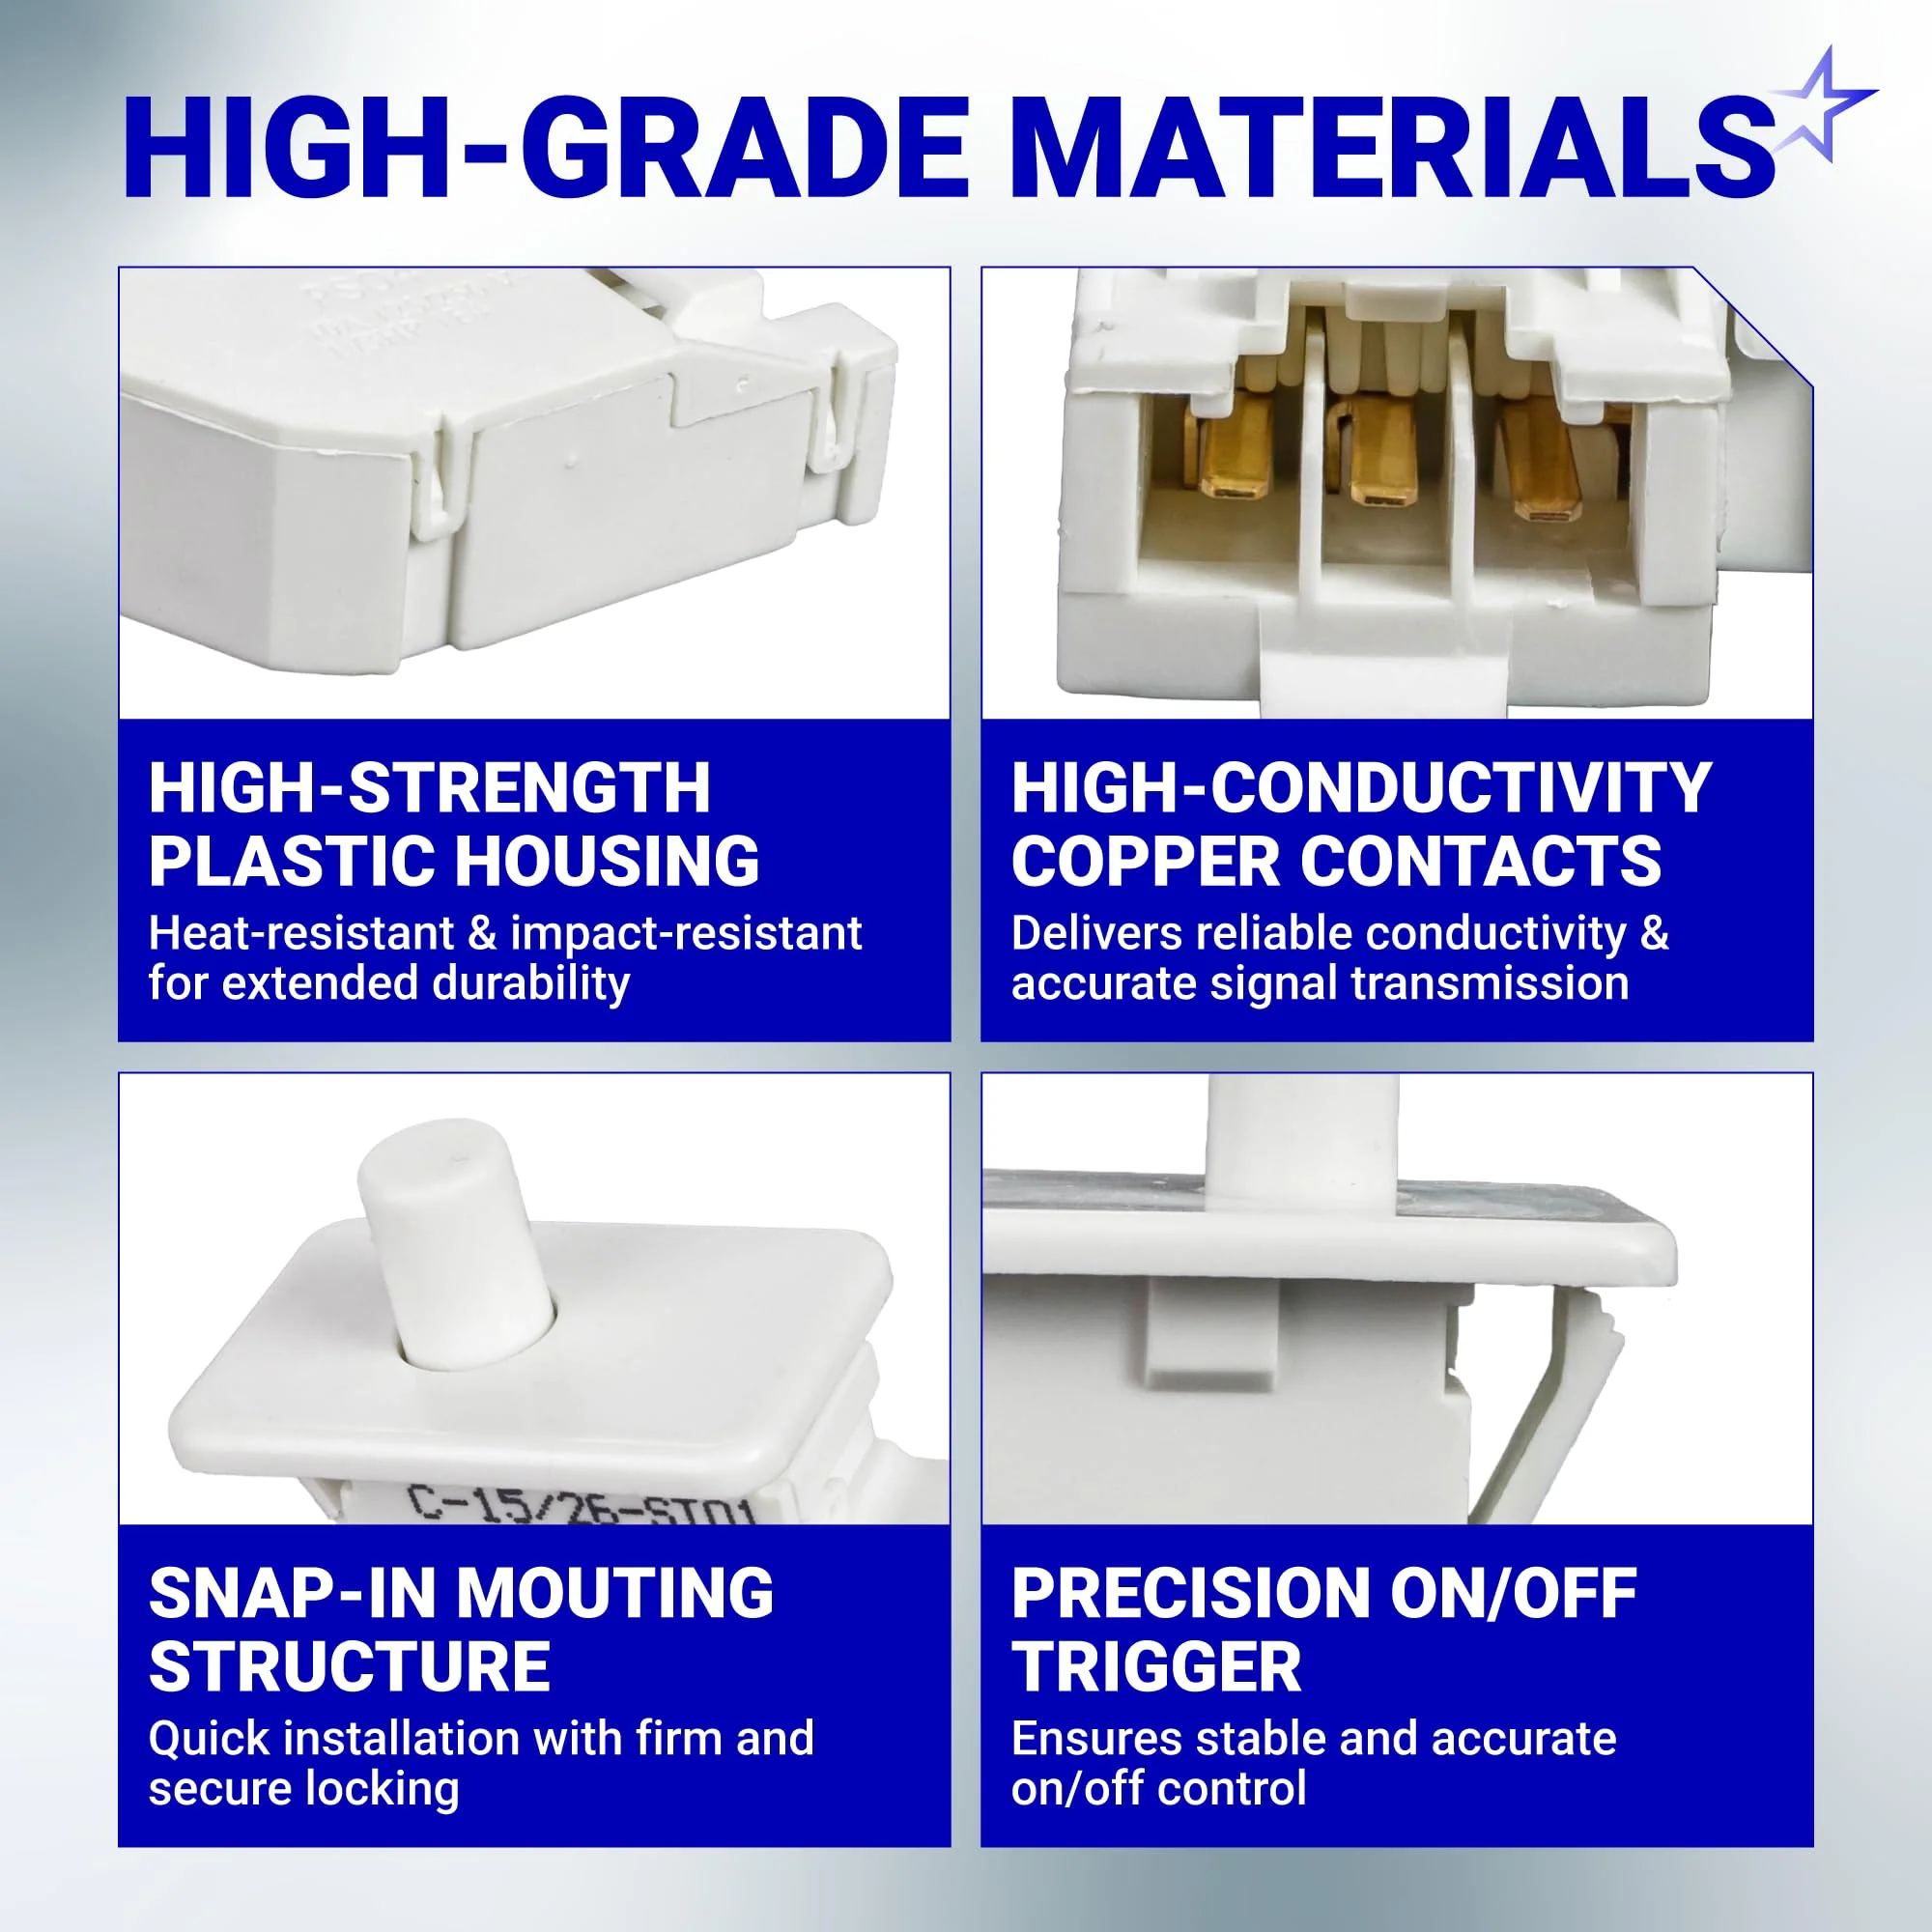
- Durable construction for repetitive mechanical actuation.
- Engineered for precise alignment with dryer door housing.
Replaces / Cross-Reference Part Numbers
- WE04X28977
- WE10X23879
- 4931170
- AP6889035
- PS12722948
Compatibility & Fitment
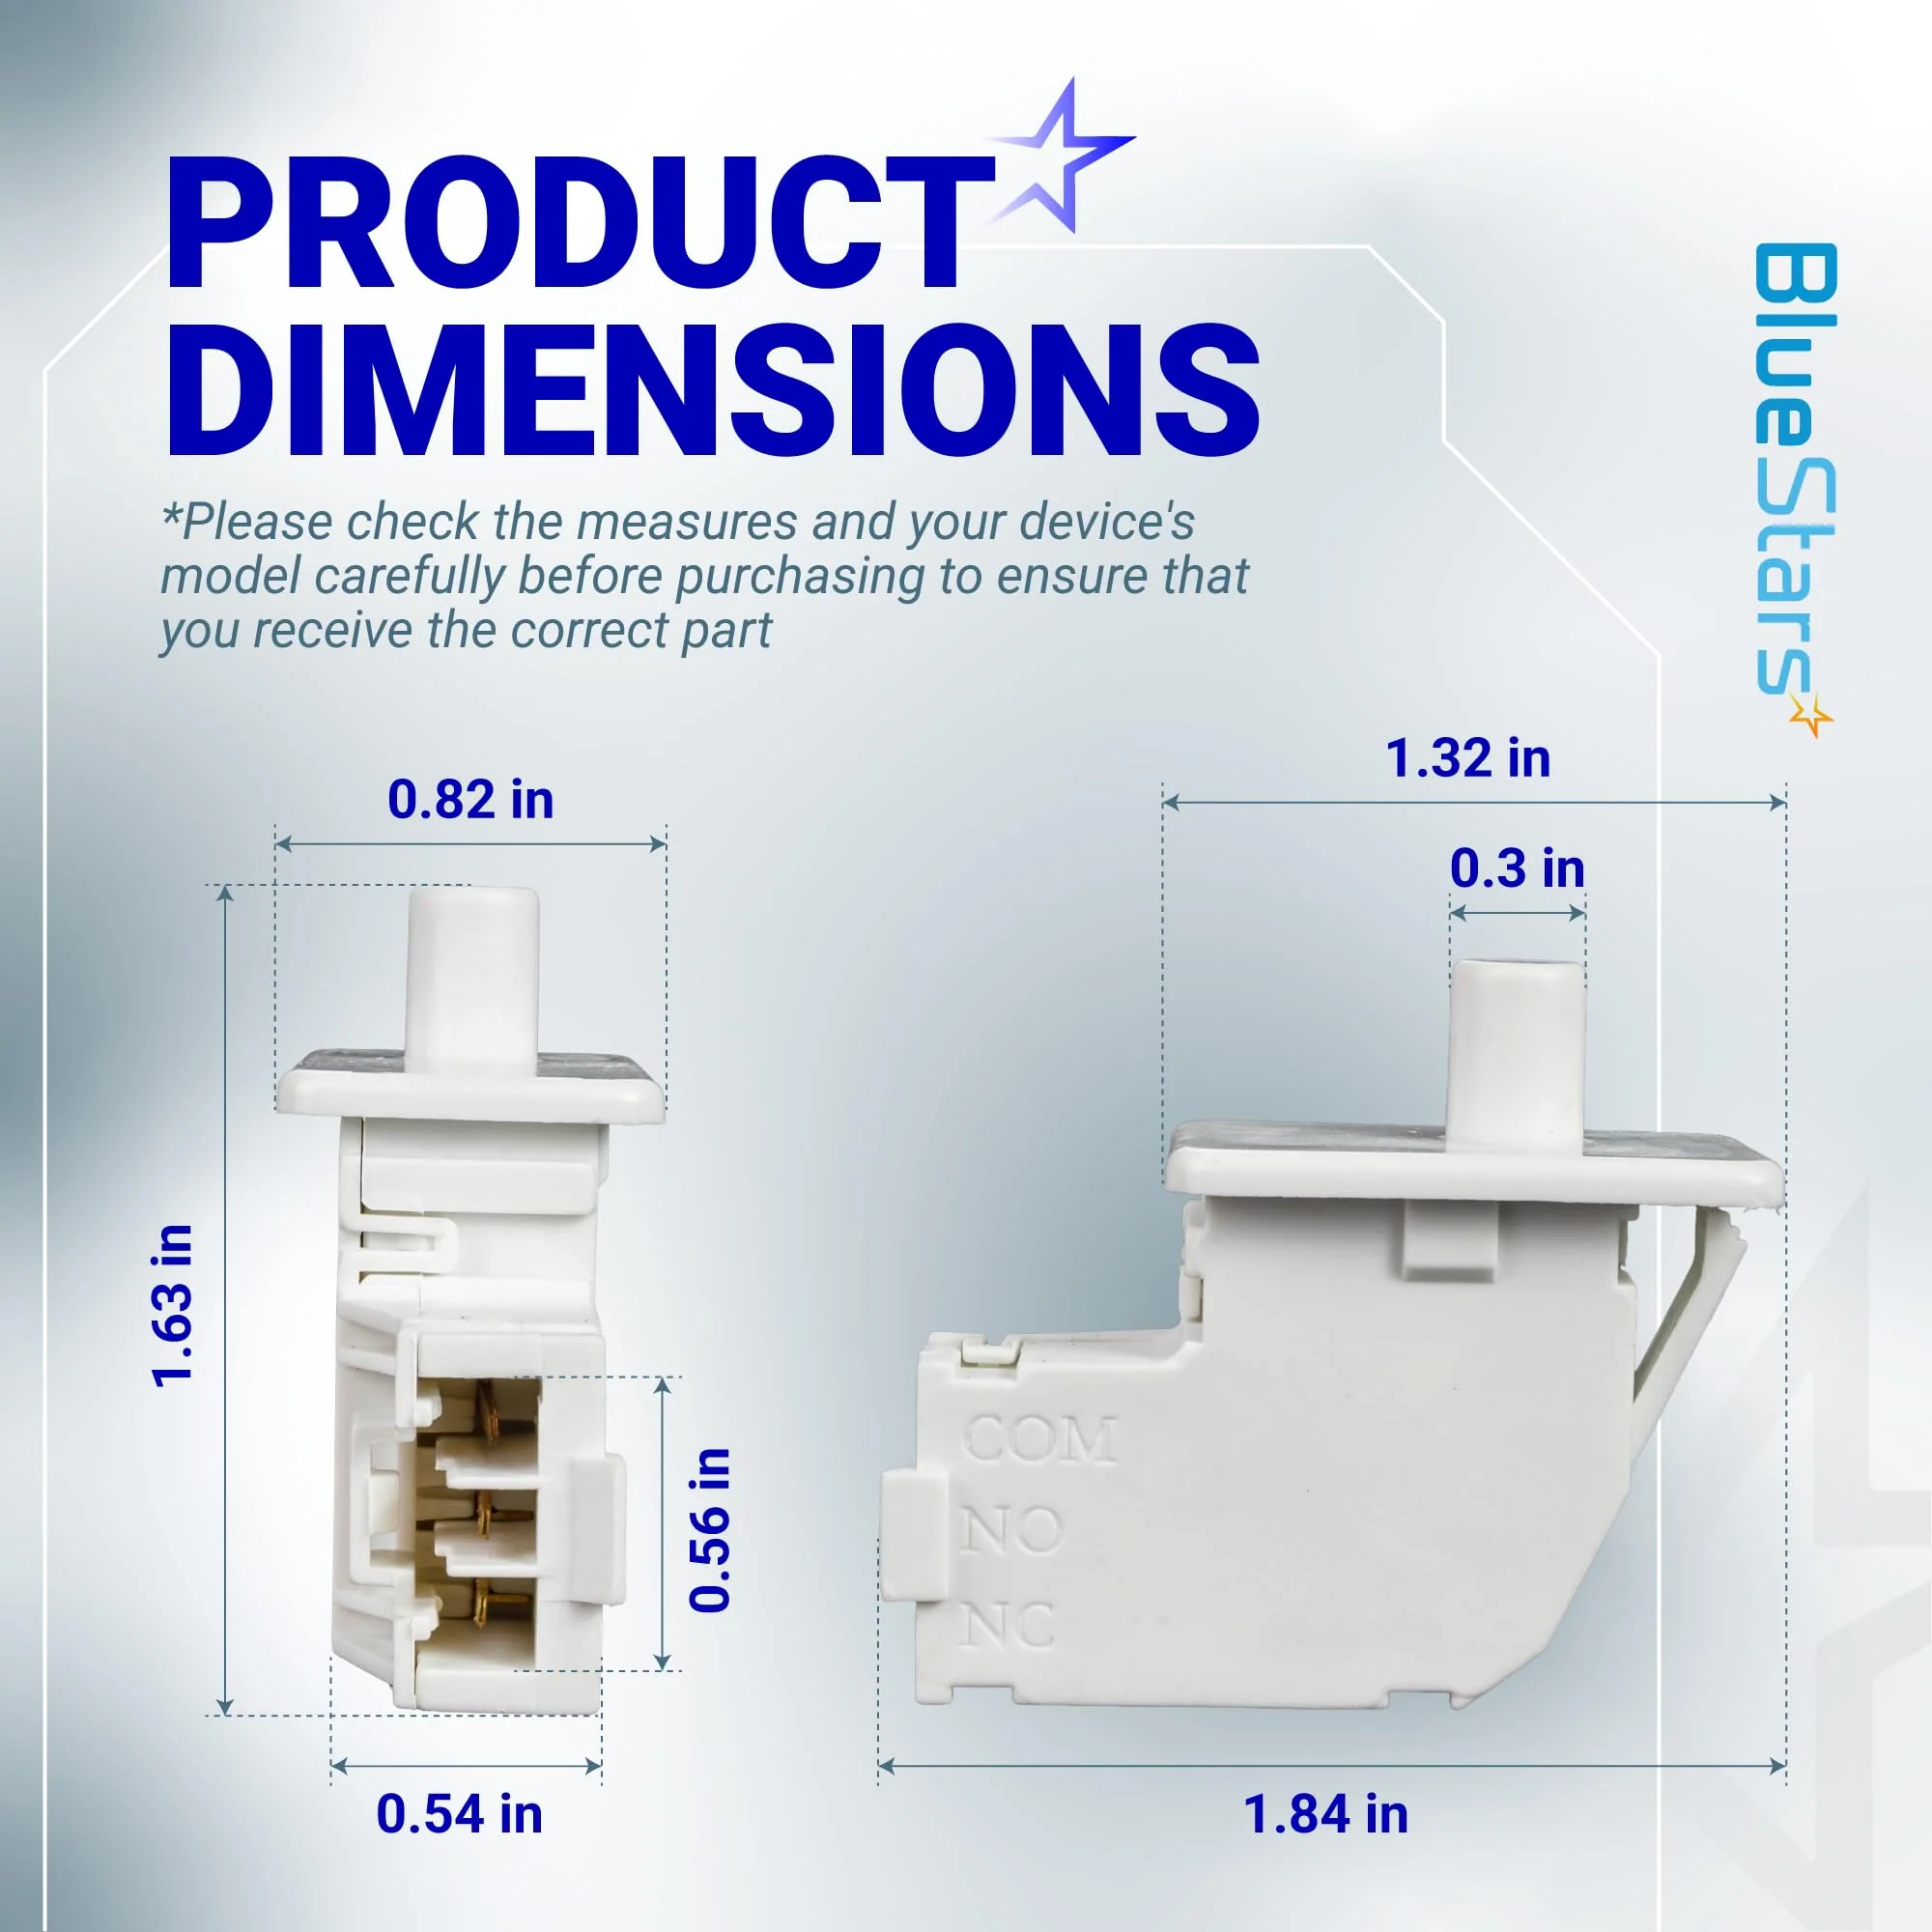
- Compatible with GE, Hotpoint, Haier, Monogram, and Café dryer models.
- Fits specified units including GTD33EASK0WW, GTD42EASJ2WW, GTD42EASJ0WW, GTD42GASJ2WW, and GTD45EASJ2WS.
- Verify your specific dryer model number against the manufacturer manual prior to installation.
When to Replace
- The dryer fails to start despite the door being fully closed.
- The drum interior light remains on while the door is closed.
- The dryer continues to operate when the door is opened.
- Physical damage to the switch plunger or housing is observed.
Installation Tips
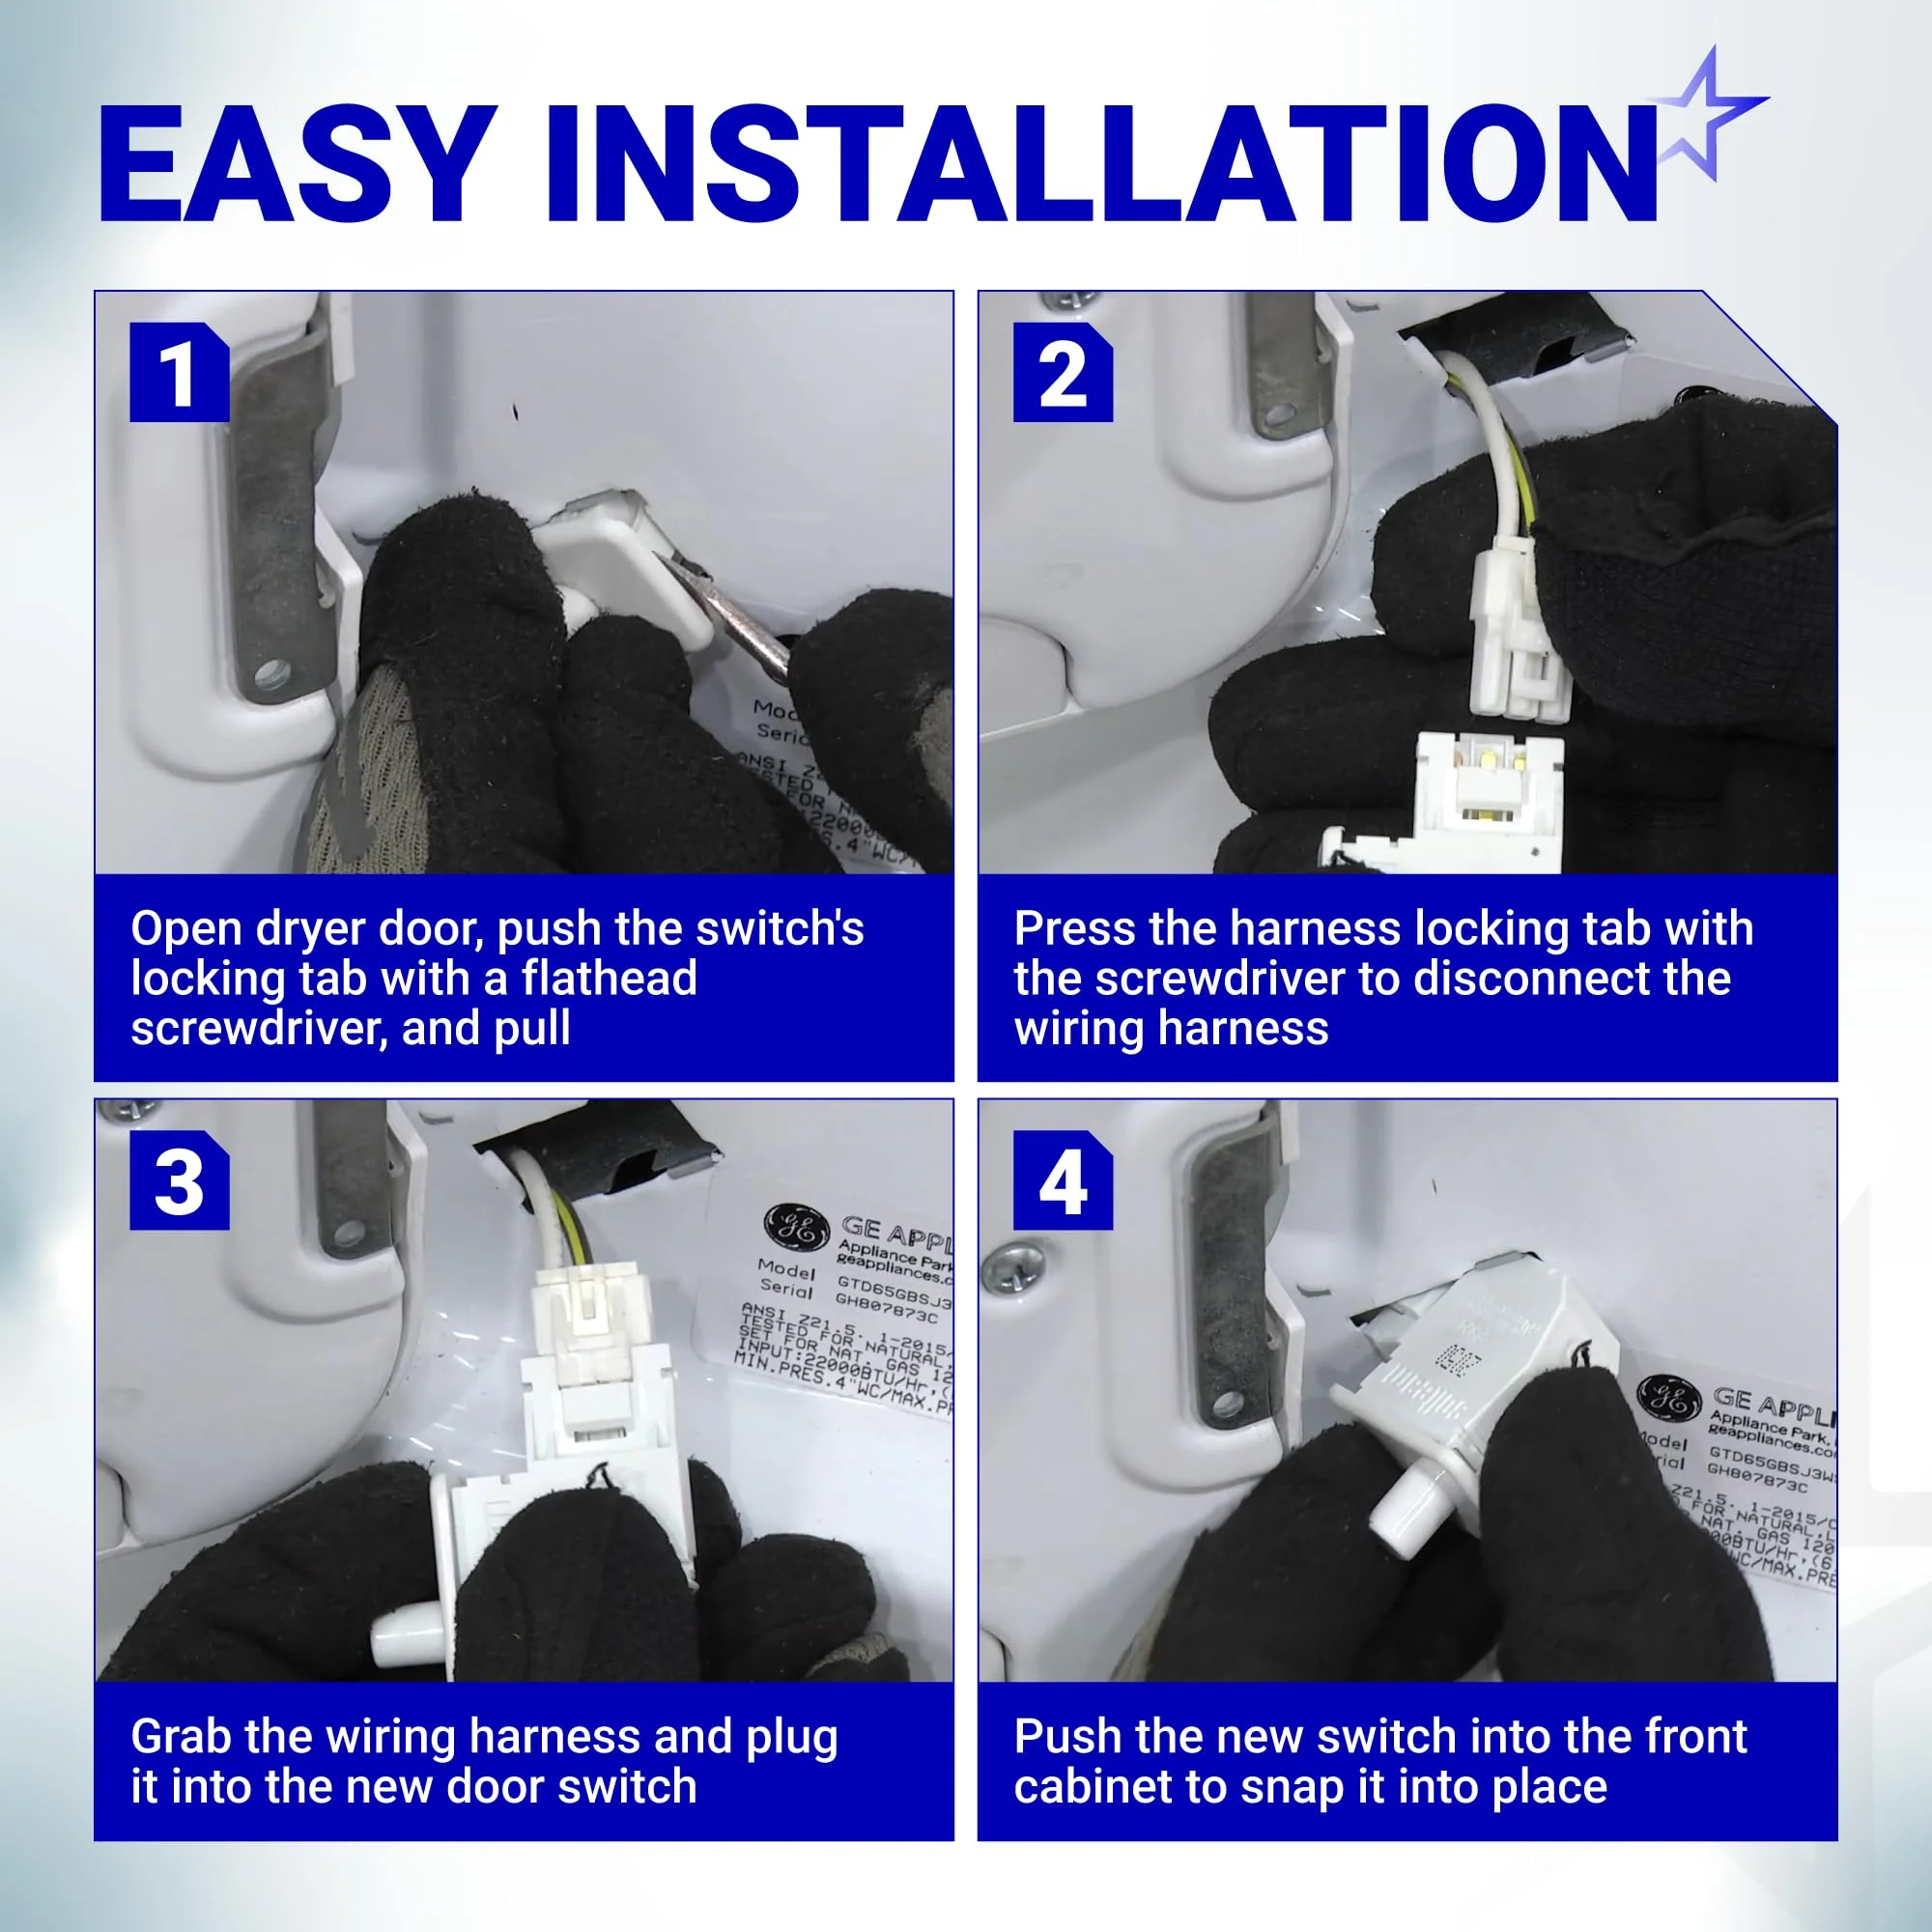
- Disconnect the dryer from the power supply before attempting any repairs.
- Ensure the lint screen and housing area are clear of debris before beginning.
- Use a putty knife or screwdriver to release the front panel clips as required by the specific model configuration.
- Ensure wiring harnesses are firmly seated into the new switch terminals.
- Test the continuity of the switch after installation if the dryer fails to power on during the first trial run.
Details & Craftsmanship
Every detail has been carefully considered to bring you the perfect product.

Details & Craftsmanship
Every detail has been carefully considered to bring you the perfect product.
Details & Craftsmanship
Every detail has been carefully considered to bring you the perfect product.

Details & Craftsmanship
Every detail has been carefully considered to bring you the perfect product.

Details & Craftsmanship
Every detail has been carefully considered to bring you the perfect product.

Details & Craftsmanship
Every detail has been carefully considered to bring you the perfect product.

Details & Craftsmanship
Every detail has been carefully considered to bring you the perfect product.
Details & Craftsmanship
Every detail has been carefully considered to bring you the perfect product.
Description
WE04X28977 Dryer Door Switch
Key Features
- Ensures dryer motor operation only occurs when the door is latched securely.
- Maintains electrical safety circuit functionality for drying cycles.
- Durable construction for repetitive mechanical actuation.
- Engineered for precise alignment with dryer door housing.
Replaces / Cross-Reference Part Numbers
- WE04X28977
- WE10X23879
- 4931170
- AP6889035
- PS12722948
Compatibility & Fitment
- Compatible with GE, Hotpoint, Haier, Monogram, and Café dryer models.
- Fits specified units including GTD33EASK0WW, GTD42EASJ2WW, GTD42EASJ0WW, GTD42GASJ2WW, and GTD45EASJ2WS.
- Verify your specific dryer model number against the manufacturer manual prior to installation.
When to Replace
- The dryer fails to start despite the door being fully closed.
- The drum interior light remains on while the door is closed.
- The dryer continues to operate when the door is opened.
- Physical damage to the switch plunger or housing is observed.
Installation Tips
- Disconnect the dryer from the power supply before attempting any repairs.
- Ensure the lint screen and housing area are clear of debris before beginning.
- Use a putty knife or screwdriver to release the front panel clips as required by the specific model configuration.
- Ensure wiring harnesses are firmly seated into the new switch terminals.
- Test the continuity of the switch after installation if the dryer fails to power on during the first trial run.